1776 stays from Norah Waugh "Corsets and Crinolines"
I'm new into 18th century costuming and despite some inspired costumes, I never sewn an accurate outfit. This year I'll attend some Georgian events and I definitely need to create something historically accurate. I'm not a great fan of the luxury gowns of 1750-60s so I chose to reproduce a simple - but elegant as well - robe à l'anglaise. Before getting started with the dress which is actually still in my mind, I needed to sew proper underpinnings. Remember: you can't have the right look or the desired historical figure without the proper underwear; there's a reason if they wore that stuff. You cannot have the fashionable conical shape of 18th century if you don't wear stays (the early word for corsets) and this works for other centuries. So, let's get started.
The first step were the stays. Stays. What a strange word, uh? Basically, stays are a supportive garment that helped women to get the desired conical shape. They're completely different from the Victorian corsets we have in mind but I'm sure you already met some of them in their modern look:

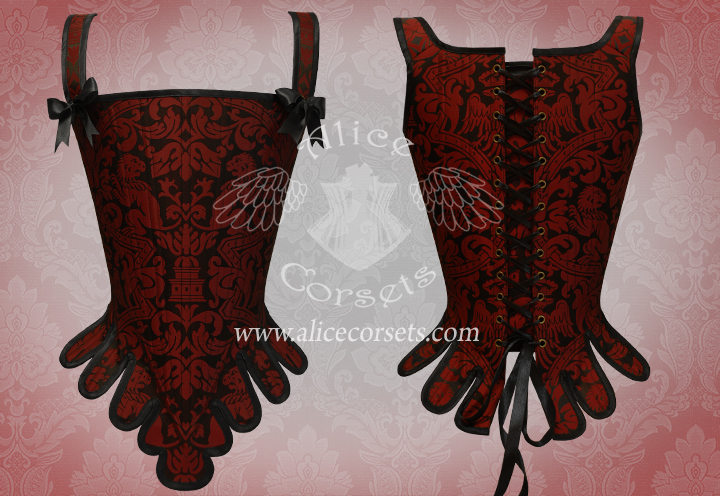


My finished stays with the chemise.
Stays have a simple construction. Two - or three - layers of fabric stitched together to form boning channels and other two layers as lining and fashion fabric. Sounds easy, right?
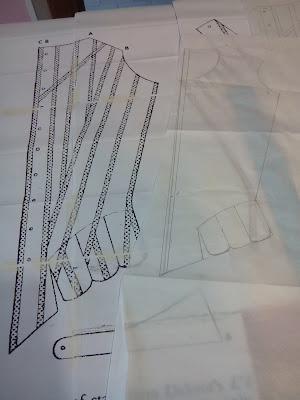
For my stays I used the 1776 pattern by Diderot featured in "Corsets and Crinolines" by Norah Waugh. I scaled the pattern in Photoshop and then I printed it out; I immediately noticed the design was really big for me (my measurements are 85/78/102 - not an easy combination) so I had to scale it again drafting the pattern by my own. The hardest step were the boning channels: I had to change their position trying to not afflict the functionality of the corset but thanks to American Duchess, I learned there's not a standard position for boning channels, you can experiment with them! I strongly recommend to visit her blog, she's an incredible talented lady and her tutorials are so helpful when approaching to 18th/19th century costuming (another great resource is Prior Attire, visit her as well!) I don't need lot of support since I'm not a busty lady so I skipped the horizontal boning channels. I used heavy white cotton as fashion fabric, black cotton canvas interlining and soft cotton for the lining.
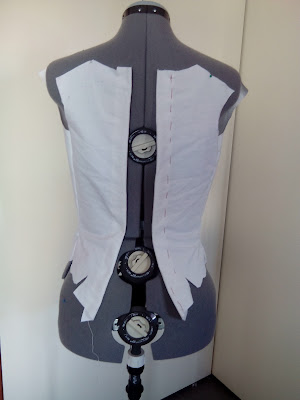


Toile of the back with inserted boning.
After the first toile I was extremely happy to discover the back fitted perfectly (as shown in the picture). The front was bigger and the neckline was too high and reshaping them took a while. Then I started to sew the boning channels on the back; remember to leave extra fabric on your fashion fabric 'cause this will be faced inwards when attaching the lining. I used a combination of cable ties (yes...cable ties!) and synthetic whalebone as boning.
Sewing the boning channels on the front took me a while. I didn't own a busk so I added four boning on the front to add support. Here you can see how the tabs were boned.

After this step I sewn the lining. I didn't take photos of this step since I sewn it as usual. Then the binding. I know many talented costumers that manage to sew the lower binding by machine but I'm not so skilled - so I used my hands. Believe, binding the tabs is a nightmare. It requires practice, patience and...time. Lot of time. I finish to binding my stays in a day or two - or even more. I used satin binding - not accurate but it was the only bias tape I had in stock in huge quantities.

Now the eyelets. I did them by hand. I find it extremely relaxing. I love this step 'cause I can see how I get better eyelet after eyelet. I used an awl to pierce gently the fabric and then I sewn a little circle (a temporary fabric marker is really helpful). Some costumers use covered metal grommets but I find this step quite uncomfortable.
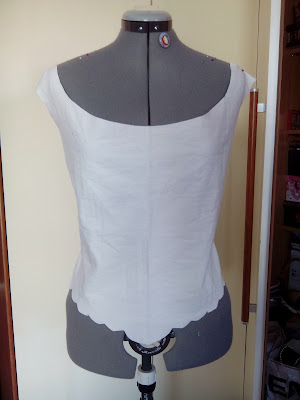
After sewing the eyelets I worked on the shoulder straps. They had to be shorter to be honest but this was my first pair of stays and I needed to practice. They close with a satin ribbon and a hand-sewn eyelet. The displayed chemise is made of white cotton with hand sewn hems and the pattern is self drafted; I'm not used to low necklines so wearing the shift makes me feel so weird.
Now the first fittings with the half finished stays:
The whole process took me more than two months. You know, commissions have to be finished first and I'm not a good corset maker. However, I learned a lot from this project and stays fitting so now I know which mistakes I have to avoid next time. Feel free to follow me on my Instagram profile and Facebook page for more photos, thanks for reading!

Commenti
Posta un commento